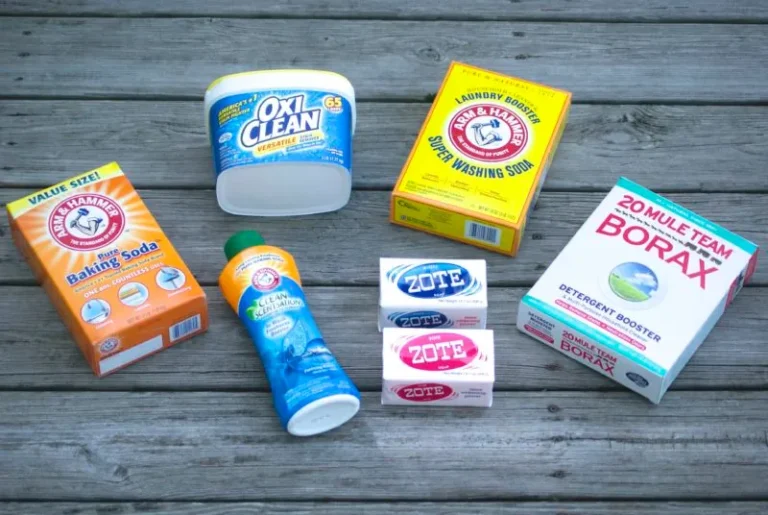
Kitchen Homemade Laundry Detergent Recipe: Clean, Fresh, and Affordable Making your own laundry detergent is one of the easiest ways to cut household costs while still keeping your… Anna
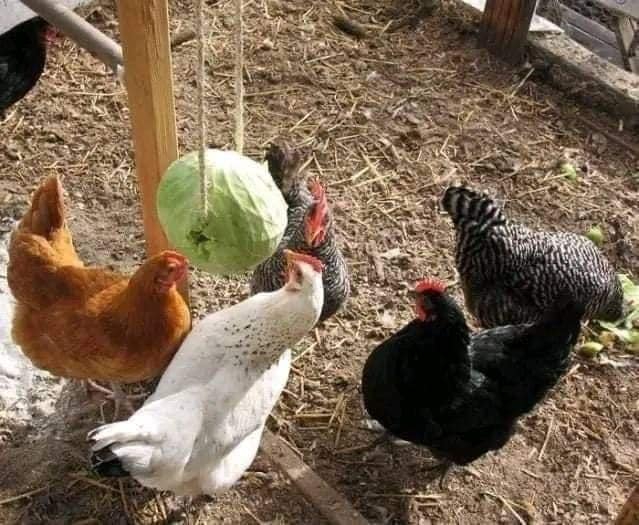
Garden Feeding Chickens: How Cabbage, Lettuce, and Creativity Make a Difference Feeding chickens is more than just giving them grain. A healthy flock thrives on variety, and adding fresh… Anna
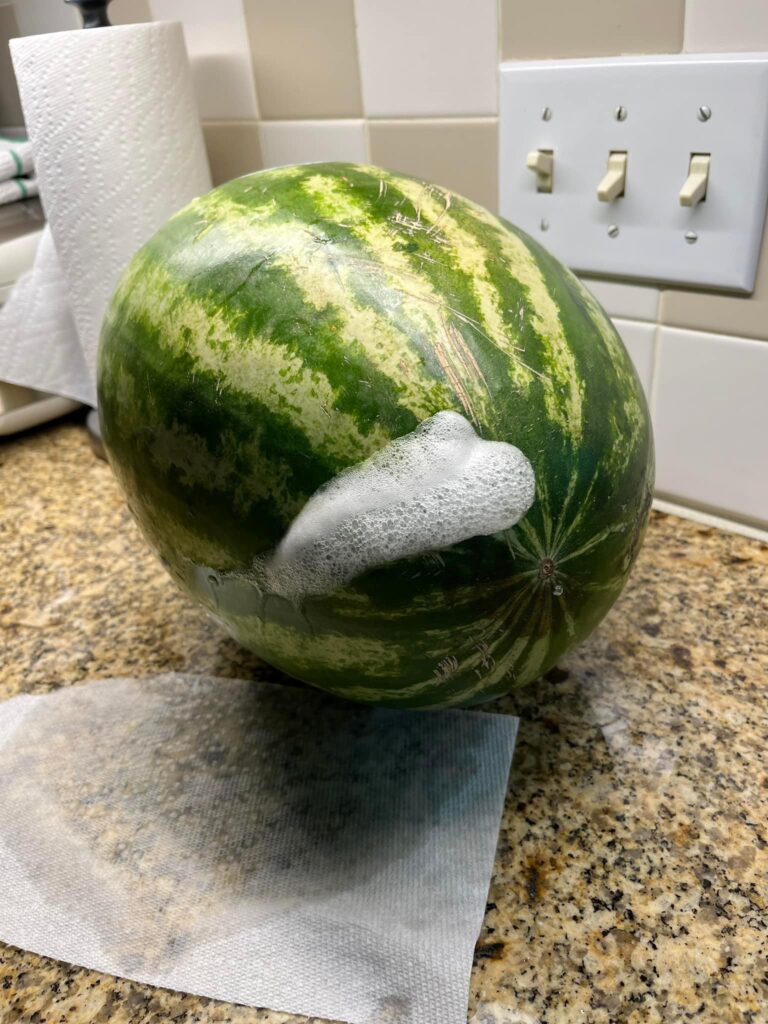
Kitchen What Should I Do If I Suspect a Watermelon Is Fermenting? A foaming or hissing watermelon can be alarming, and for good reason. When a watermelon begins to ferment,… Anna
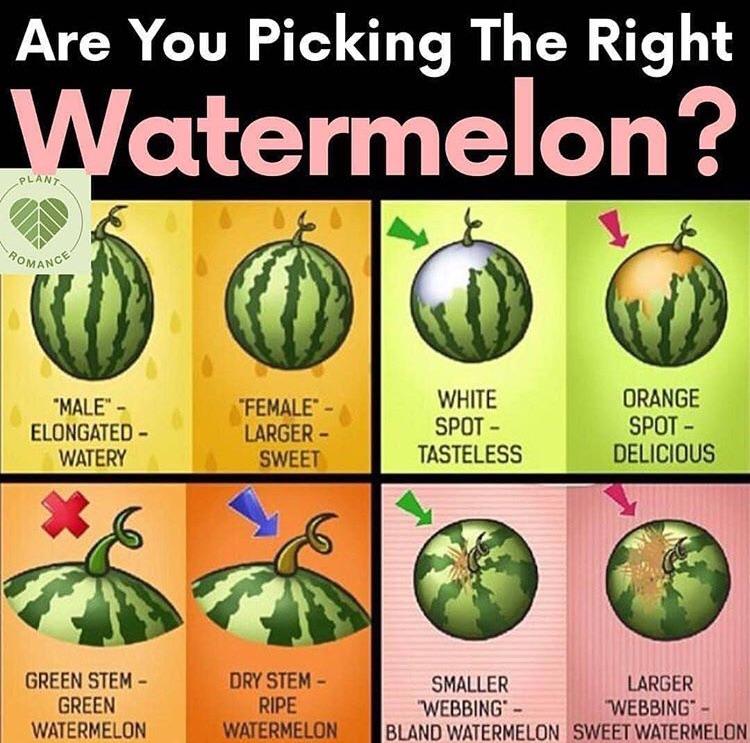
Kitchen The Secrets to Picking a Perfect Watermelon: Tips from a Farmer and Expert Advice Choosing a good watermelon can feel like a guessing game, but it doesn’t have to be. Recently, we spoke with a… Anna
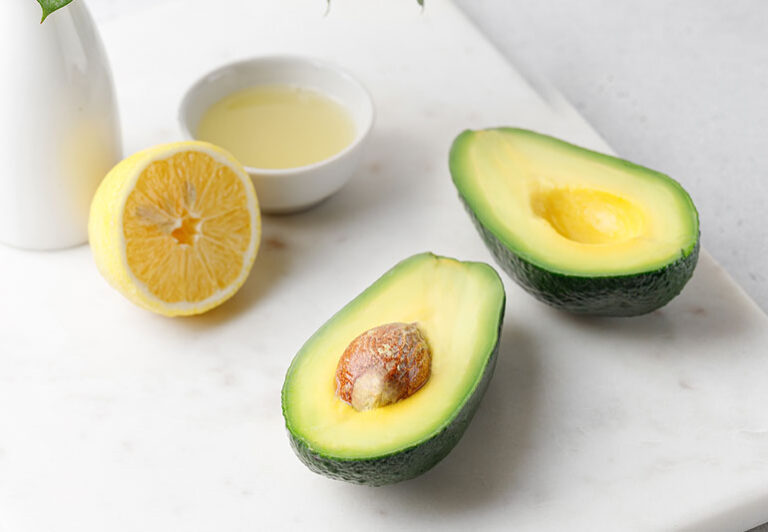
Kitchen How to Safely Store Avocados – No Water Required Storing avocados so they stay fresh longer can feel like a challenge. Many people have recently tried keeping… Anna
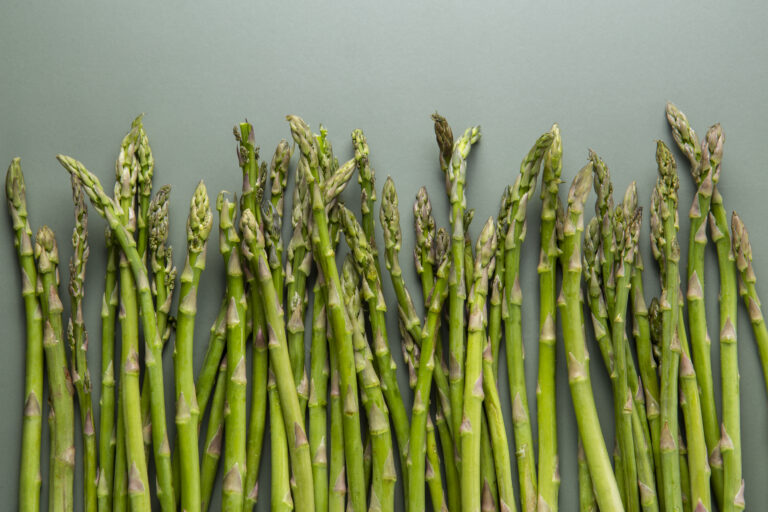
Plants The Complete Guide to Growing and Enjoying Asparagus Asparagus is a perennial vegetable that’s delicious, nutritious, and highly rewarding to grow. With the right… Anna
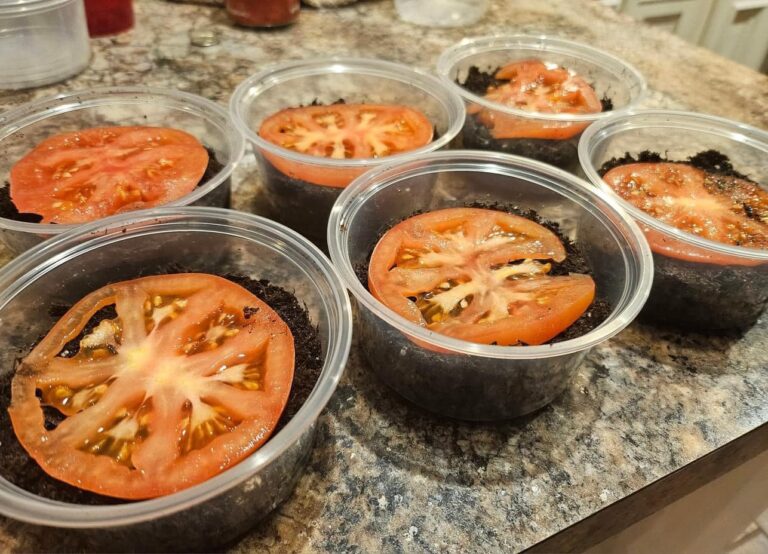
Plants How I Grew 196 Tomato Plants from a Single Tomato in Just 29 Days Growing tomatoes from seed is rewarding, but what if you could turn just one tomato into almost 200 plants in… Anna
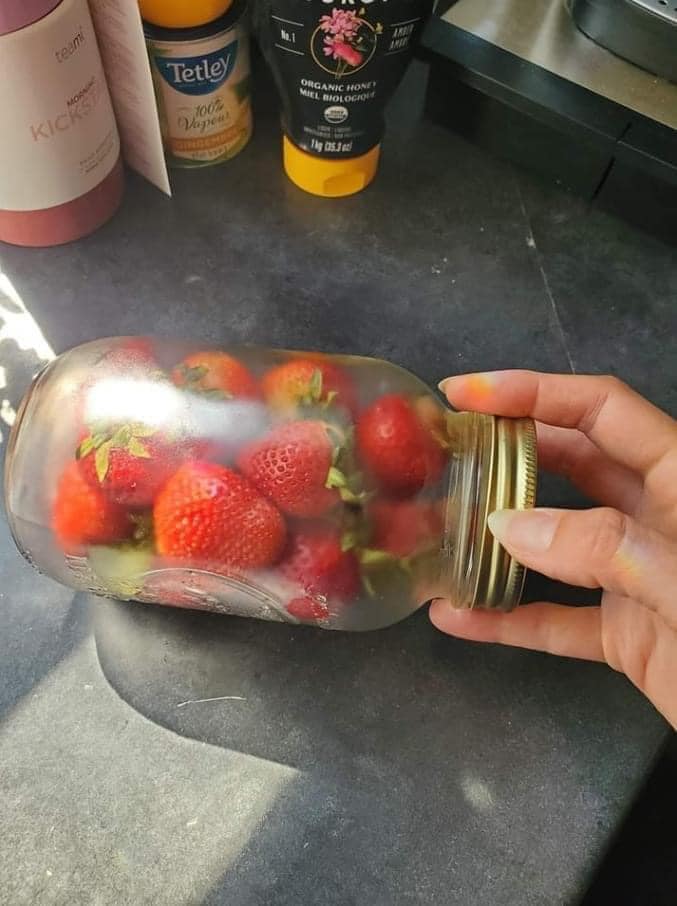
Plants How Do You Store Fruit and Vegetables to Last Longer? Most people struggle to keep strawberries fresh for more than a few days. They soften quickly, grow mold fast,… Anna
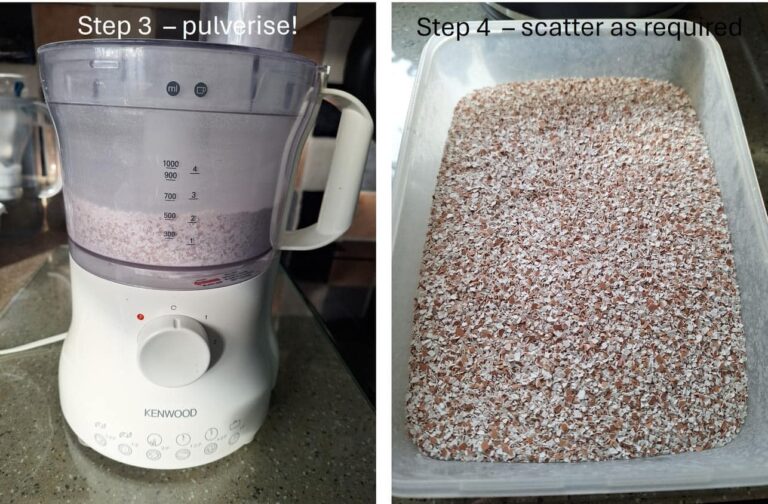
Plants Here’s Why You Shouldn’t Throw Away Eggshells (Surprising Benefits You Need to Know) Most people toss eggshells into the bin without a second thought. But what if those shells you throw away every… Anna
Plants How to Grow a Walnut Tree from Seed – Easy Way (Step-by-Step Guide) Growing a walnut tree from seed is easier than many people think. With the right preparation, patience, and… AnnaNo comments